Unpacking and Setting Up an Iceboard
Table of Contents
Your IceBoard should arrive already having been Quality Controlled, and with at least one DfMUX Mezzanine affixed to an FMC slot. This documentation is meant to provide links to the board tracking and quality control information, as well as a quick how-to for unboxing and setting up the board for benchtop operation.
Board Tracking
Please remember to update the board tracking page whenever you ship or receive an IceBoard, DfMUX Mezzanine, or SQUID Controller Board:
- The IceBoard tracking page is here
- The Mezzanine tracking page (and QC) is here
- The SQUID Controller Board tracking page (and QC) is here
- The Backplane tracking page is here
Initial Inspection
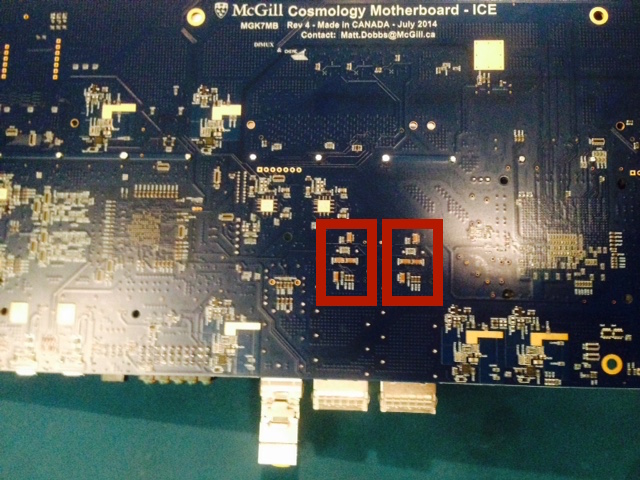
The components we’ve had trouble with getting sheared off are a set of eight capacitors on the back of the board (two sets of four, indicated in the image below).
Shearing generally happens because of flexing and mechanical conflict when sliding in and out of a crate. We are using smaller form-factor components for later runs, but it is a good thing to check after receiving the board.
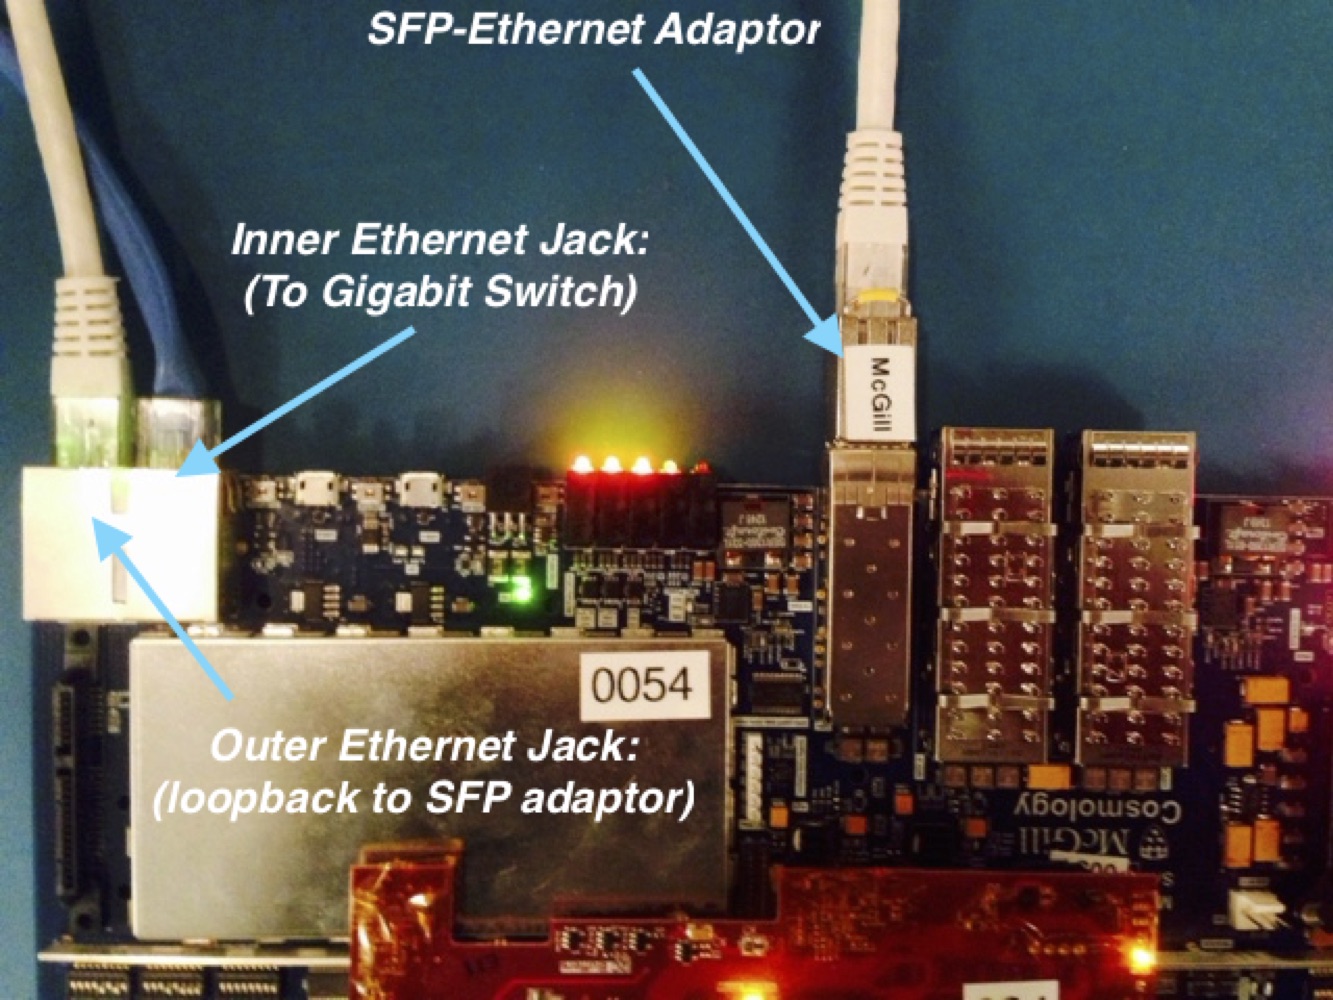
DfMUX-Specific add-ons
An IceBoard that will be operating DfMUX firmware needs:
- An SFP-to-Ethernet adaptor on the FPGA output
- A short loopback ethernet from the outer PHY to the SFP-to-Ethernet adaptor
- A CF-Card with the latest DfMUX Firmware, described in Firmware Upgrades
Benchtop Setup
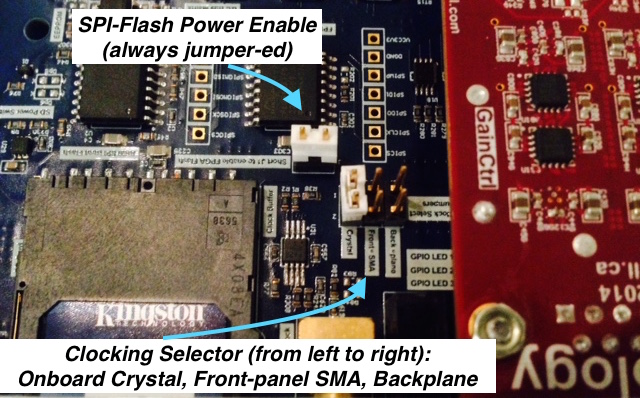
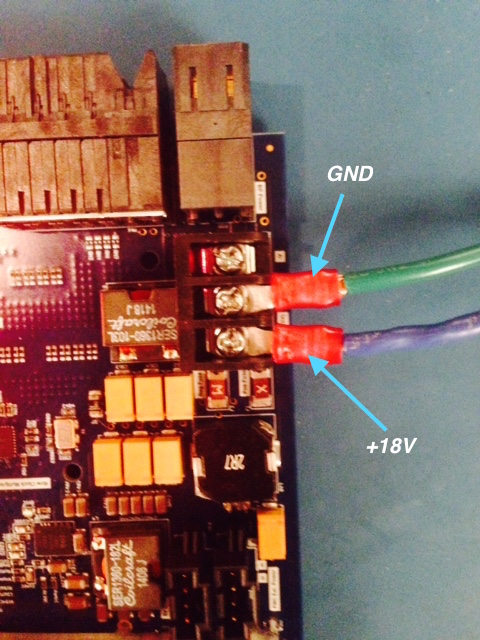
This section details the power and jumper setup when running in a benchtop configuration.
When running on the benchtop the board may be laid directly on an anti-static mat, but for longer term it is good to stand it off from the surface to encourage airflow.
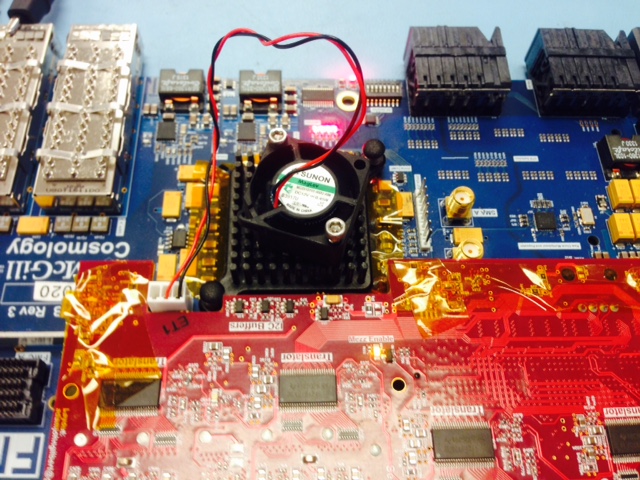
When running on the benchtop a small fan must be screwed into the heat-sink that sits on top of the FPGA (image below). This fan is removed when the board is installed in a backplane with its own fan-tray. These are fairly common PC heat-sink fans.