Getting Started (Hardware)
Table of Contents
The guides pages draw from the more focused chapters on hardware, software, firmware, and integration, to provide a narrative of steps necessary to completely set up a new IceBoard readout system and use it with cold hardware.
This guide begins on the assumption that the IceBoard is being operated on the benchtop.
Host Computer Setup
Before unpacking and setting up your IceBoard you need one host computer that acts as a DHCP server, and a computer that you intend to use with pydfmux (these may be the same). The IceBoard(s) should be networked via Gigabit switch and have a gigabit connection to each other and to machine acting as the DHCP server.
DHCP server setup instructions can be found at Networking with IceBoards.
pydfmux may be checked out out from the bitbucket git repository https://bitbucket.org/winterlandcosmology/pydfmux .
Contact an admin for access.
The dependencies required to run pydfmux are detailed in Dependencies. They have been thoroughly tested on linux distributions Ubuntu 13.3+ and Debian 8 “Jessie”, as well as OS X 10.9+. For Mac users, all of the python requirements should be available for free through the Canopy distribution of python.
Making A Flashcard
Your IceBoard should come with at least one compact flash card preprogrammed with firmware. However, it is important to ensure you are using the most recent release, and know how to build your own flashcard.
Like legacy systems, the flashcard contains the bootloader, linux filesystem, as well as the FPGA bitstream. On powerup the ARM begins running linux, where it establishes network connections and announces its hostname, before programming the FPGA.
All of the firmware and tools necessary for flashing a CF card exist in the pydfmux repository, with binary files stored through git-annex. Detailed instructions on setting up git-annex and flashing a CF card, including a few additional dependencies required, can be found in Firmware Upgrades.
Unpacking The IceBoard
Once you have setup the host computer and imaged a CF card with recent firmware, it is time to unpack, inspect, setup, and power on your iceboard. Instructions are available at Unpacking and Setting Up an Iceboard
Configuring SSH
Recent releases of SSH have deprecated the key-exchange algorithms used by the (older) SSH server on the IceBoard. If you see the following error:
$ ssh root@iceboard0353.local
Unable to negotiate with 192.168.1.104 port 22: no matching key exchange method found. Their offer: diffie-hellman-group1-sha1,diffie-hellman-group14-sha1,kexguess2@matt.ucc.asn.au
...consider adding the following lines to your ~/.ssh/config file:
Host iceboard*.local
    KexAlgorithms +diffie-hellman-group1-sha1
Powering Up The IceBoard
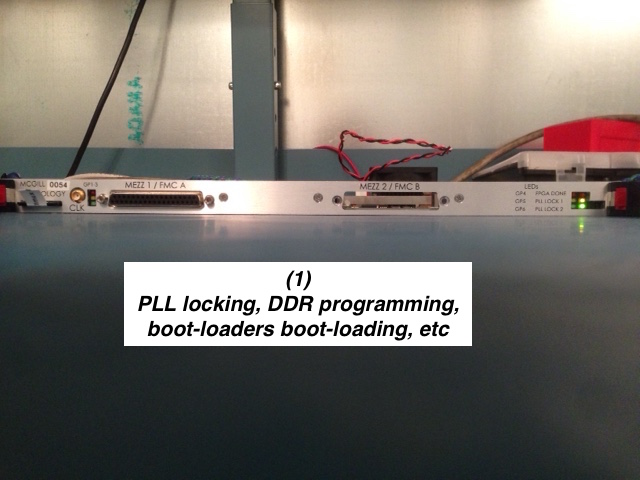
It should take about a minute to power up an IceBoard and program the FPGA. The LEDs on the front panel twiddle according to several states:
- Locking PLLs, Configure DDR, Loading bootloaders, preparing Linux Kernel (Board inaccessible)
- Only lasts a few seconds. Issues here may point to problem in CF card
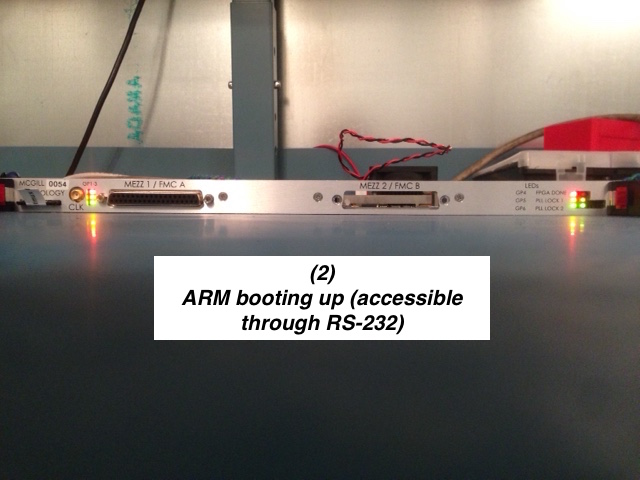
- ARM Booting up (Board accessible through RS-232 only at this point)
- Takes variable amount of time depending on networking. Hangs here could be related to networking issues (check cabling!)
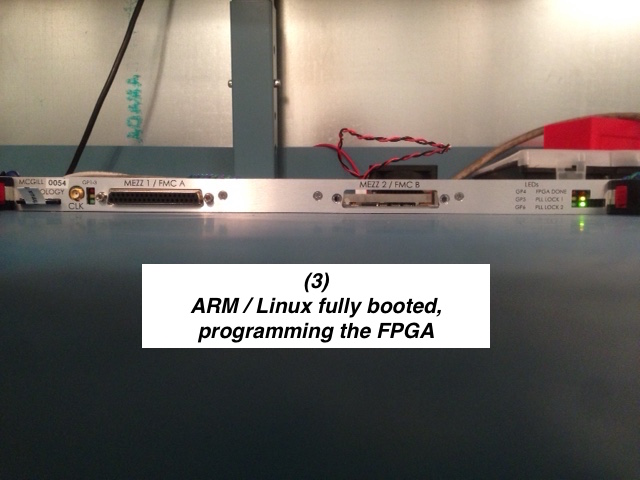
- ARM Booted, Programming FPGA (Linux-portion available, Board accessible through SSH)
- Board should now be accessible through SSH via root@iceboard<serial>.local or through the webserver at http://iceboard<serial>.local
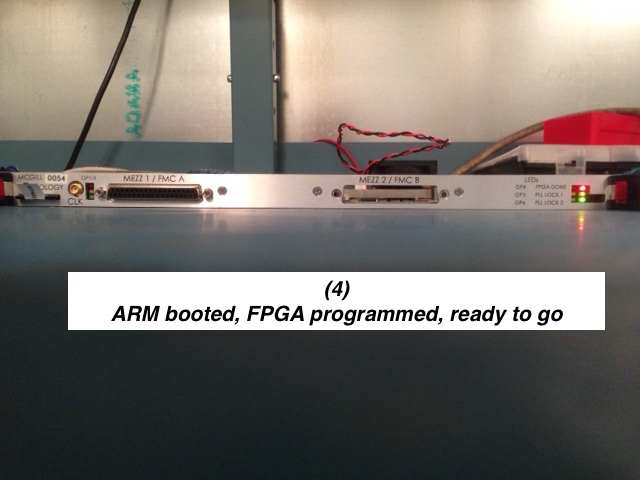
- ARM Booted, FPGA Programmed (Board is running and ready for DfMUX use)
- You may observe the board registering its hostname (or alternatively browse the
- iceboards currently on the network) using the following utilities:
OS X:
$ dns-sd -B _ssh._tcp
Browsing for _ssh._tcp
DATE: ---Wed 01 Apr 2015---
14:34:15.931  ...STARTING...
Timestamp     A/R    Flags  if Domain               Service Type         Instance Name
14:34:16.318  Add        2   4 local.               _ssh._tcp.           iceboard0054
Linux:
$ avahi-browse -at | grep iceboard
+   eth1 IPv6 iceboard0054                                  SSH Remote Terminal  local
+   eth1 IPv4 iceboard0054                                  SSH Remote Terminal  local
+   eth1 IPv6 iceboard0054 [84:7e:40:66:39:a4]              Workstation          local
+   eth1 IPv4 iceboard0054 [84:7e:40:66:39:a4]              Workstation          local
+   eth1 IPv6 iceboard0054                                  _tuber-jsonrpc._tcp  local
+   eth1 IPv4 iceboard0054                                  _tuber-jsonrpc._tcp  local
+   eth1 IPv6 iceboard0054                                  SFTP File Transfer   local
+   eth1 IPv4 iceboard0054                                  SFTP File Transfer   local
You can SSH into the board as root using $ ssh root@iceboard<serial>.local, where
in the above case <serial> is 0054.
The webserver should be enabled automatically, and is accessible at http://iceboard<serial>.local
such that, for board 0054, the following appears at http://iceboard0054.local:
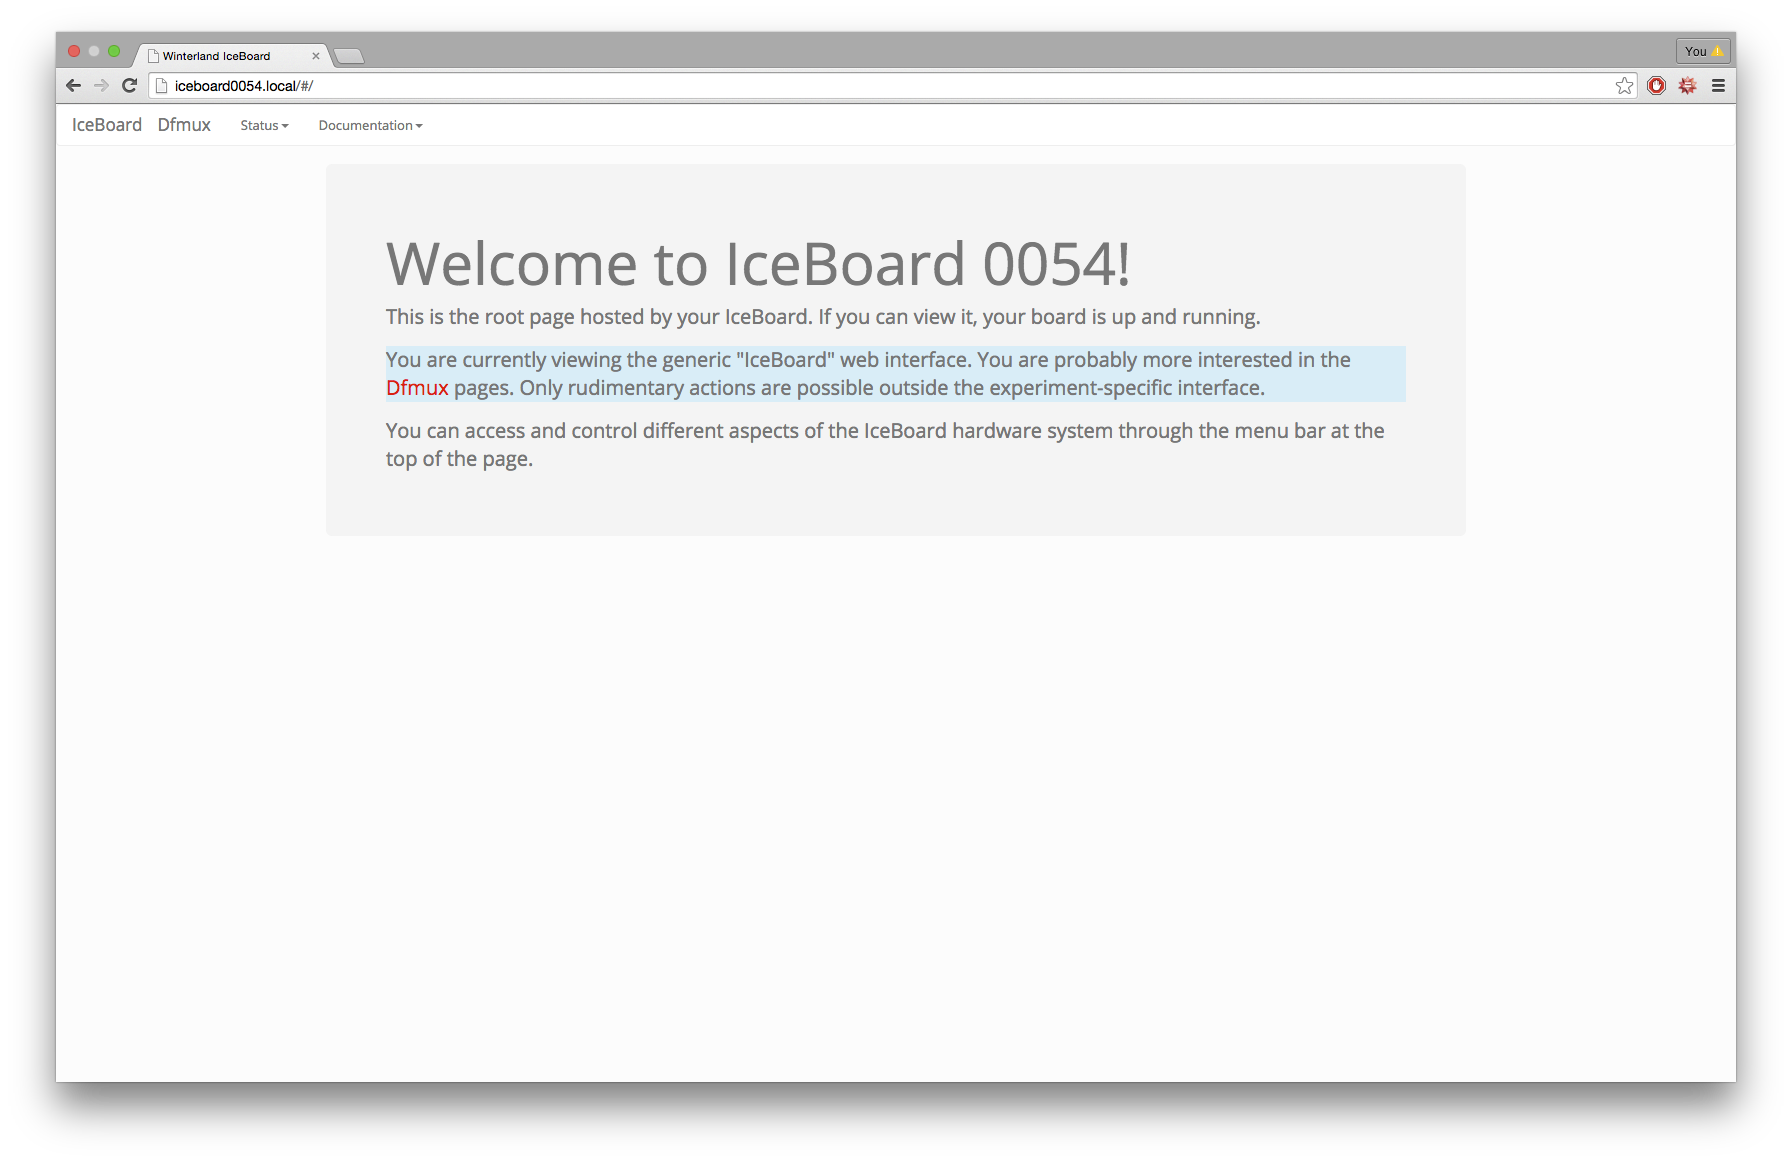
Take some time to familiarize yourself with the webpage. Things like the syslogs
(/var/log/messages) are presented in the IceBoard->Status pages, while tools
like real-time plotting are available in the Dfmux portion.
Using pydfmux
You are now ready to start using pydfmux. A narrative-like walkthrough similar to this page is available in Getting Started (Software), otherwise browse the individual software pages in Welcome to pydfmux.